Catching up, feeling time to breathe, reconnect
One of the wisest things I've learned in the last 90 days is to judge your progress based on where…
(Don’t Worry, But) a Transition for Liat
Hello Dear Reader! You might have noticed that I didn't send out a new video clip this last Wednesday. I…
9 Ways to Reinforce Sock Heels in 45 Seconds
Plus How to Darn Sock Holes If All Else Fails Prevent, detain, deter! Stop socks from wearing out with these…Dynamite Knitwear Photos in 30 Seconds – Here’s How, According to Photography’s Grand Master
Instantly improve your knitwear photos with secrets that surprise even the pros. Here is the exact blueprint to taking beautiful…
How to Find Endless Cashmere Yarn for Less Than 99¢
RJ Jones, an avid knitter known as the Man Who Knits, reveals his ultimate hack for saving $1,000+ per sweater…
Research Shows How Knitting Every Day Rewires Your Brain to Be Less Anxious and More Happy
I went on 9 TV stations across the US to share how knitting saved my life. This 90-second video by…
With The Right Clip, It Only Takes 2 Minutes to Immediately Improve Your Knitting
What do Debbie Bliss, Clara Parkes, and Elizabeth Zimmermann have in common? They’re all appearing in my new video clip…
Beautify Your Home With Realistic Crochet Houseplants
Real plants can die. Crochet plants can’t! Even if you have killed a houseplant or two in your day, even…
Can The KnitFreedom Site Provide What I Need?
A wanna-be knitter reached out to ask if KnitFreedom was the right site for her. Here's why I said, "Yes!"
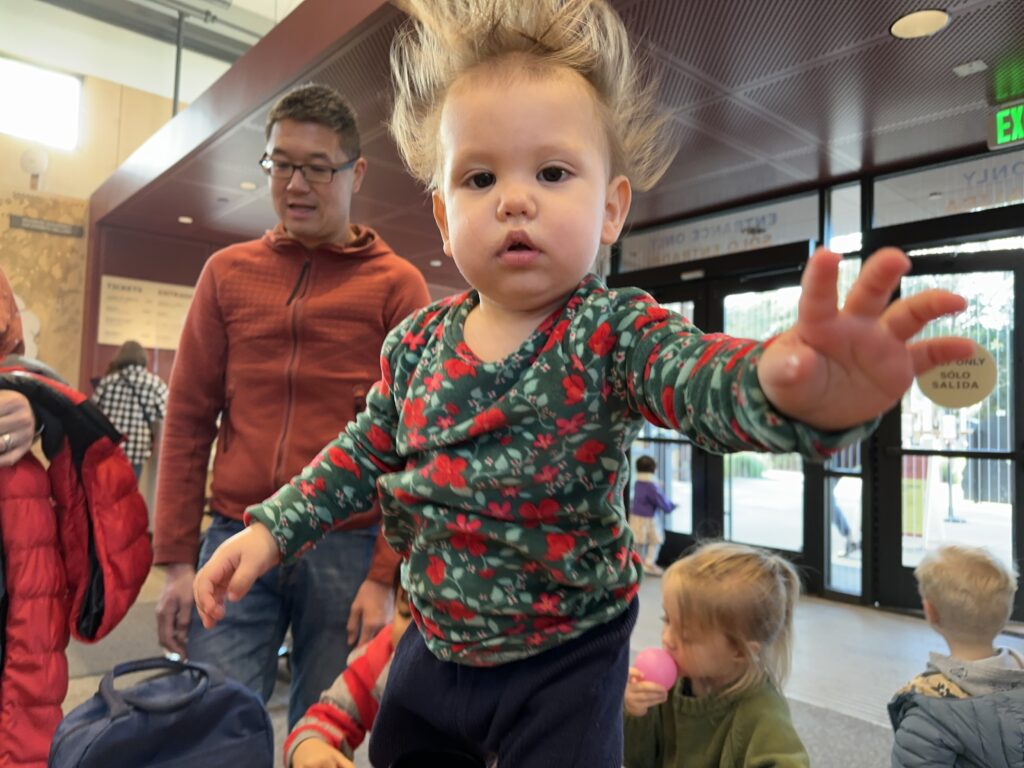
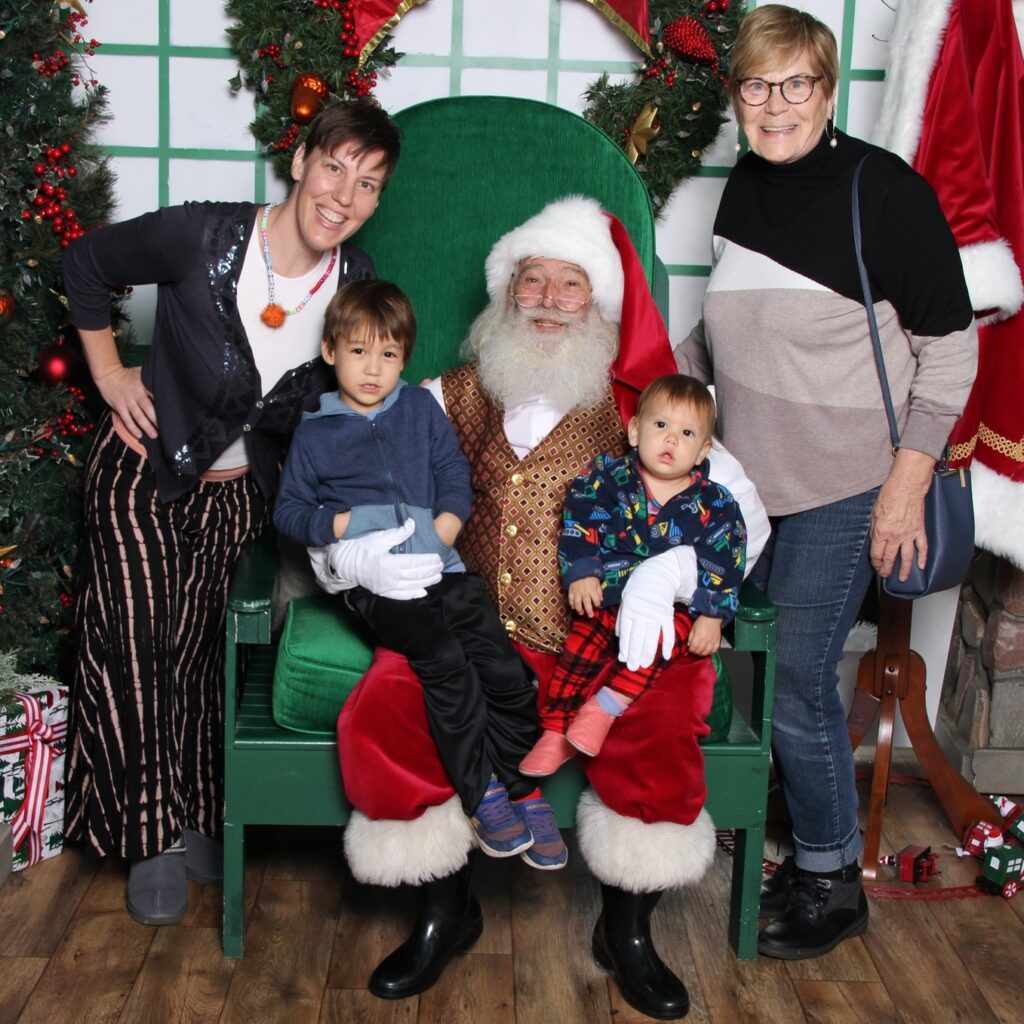
Baby Max Born Nov 19th! Liat is Back…
Our son Malcolm Maximiliano Garcia Gat was born at home at 1:30pm on Saturday, November 19th, 2022.
Login